Manipulating Typeset Scores
Lately, I’ve taken up an interest in synchronizing video scores to my favorite recording of a piece, as I have done with Tchaikovsky’s Symphony No. 5 in E Minor. One of the most important parts of creating the videos is getting good images of the score. Luckily, the Petrucci Music Library (IMSLP) has a vast collection of scores for music that has entered the public domain, but they’re not always in the best format for videos – generally too small. Sometimes, there’s not a lot one can do, especially when the PDF is a scan of a physical score, but when it is typeset in a computer program and exported, the “perfection” of the score can be exploited to do some interesting things. In this post, I mess with the score of Beethoven’s String Quartet No. 7 to make it more video-friendly.
Fetch and burst
I downloaded the score for Op. 59 No.1 (one of the “Razumovsky” quartets) from IMSLP’s page. I chose the score typeset by Gory (username Jgjgjg) in Finale, and the score is under a CC-BY 3.0 license.
From now on, I use ImageMagick to extract and transform the images – and it really is magic(k). What we download is a 76 page PDF with the music for all movements, but you can’t just put a multiplage PDF directly into a video. Well, not easily.
Fortunately, ImageMagick has just the tool do to this.
Enter, convert: one of the most useful programs known to man.
This work of sorcery has the power to convert PDFs into images, crop images, and splice images, among its many arcane capabilities.
As you may guess, that’s precisely what we need to do.
First, we need to burst the PDF into separate, workable images by page if we are to have any hope of getting anything done.
Luckily, convert makes this quite easy. For a simple case, all we need to do is:
convert IMSLP21896-PMLP05127-Cuarteto_7_op_59_no_1.pdf beethoven_quartet7-%03d.png
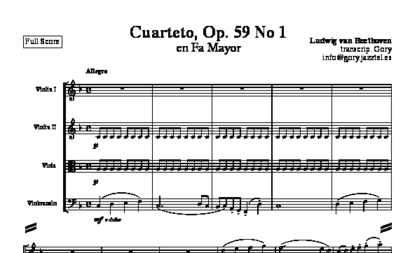
It takes each page in the PDF, converts it into an image. For example, it dumps page 1 into beethoven_quartet7-000.png, and page 2 into beethoven_quartet7-001.png. The %03d part of the command is a format string that just adds zeros in front of the number if it’s less than three digits (e.g. “1” becomes “001”). This command gives us this image for page 2 (page 1 is just a title page):
Unfortunately, the background is transparent, since that is likely how the typesetter exported it.
We want a solid background, since it’ll make our lives easier when making the video.
A user on StackOverflow posted regarding this problem, and one answer was to turn off the alpha, or transparency, layer in the PNG using -alpha off in the command:
convert -alpha off IMSLP21896-PMLP05127-Cuarteto_7_op_59_no_1.pdf beethoven_quartet7-%03d.png
Using -flatten, as another answer suggested, caused all of the page in the PDF to stack on top of one another – and that’s definitely not what we want here.
By turning off transparency, we also inadvertently turned off anti-aliasing, which makes our image look pretty pixelated and a pain to look at (it’s worse than it really is above because I shrunk it).
The easiest solution (for me, at least) that first came to mind was to up the density, and this can be done with the -density argument.
The default density is a mere 72 dots per inch, and this translates to an image size of 595 x 842 pixels. I used a density of 200:
convert -alpha off -density 200 IMSLP21896-PMLP05127-Cuarteto_7_op_59_no_1.pdf beethoven_quartet7-%03d.png
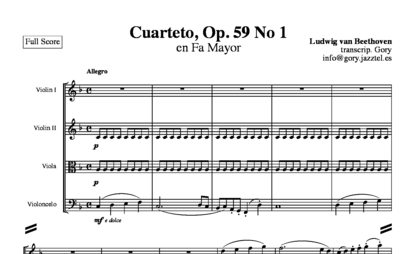
This resulted in images with dimensions of 1653 x 2339 pixels, and this is definitely enough for the score to be both sharp and legible.
Note that going beyond a density of 200 will require significantly more disk space.
While trying 300, it went through the 20GiB of disk space I had available with tons of files in /tmp/ before a core dump, so one will definitely need more space to make it work.
Now take a look at the next page:
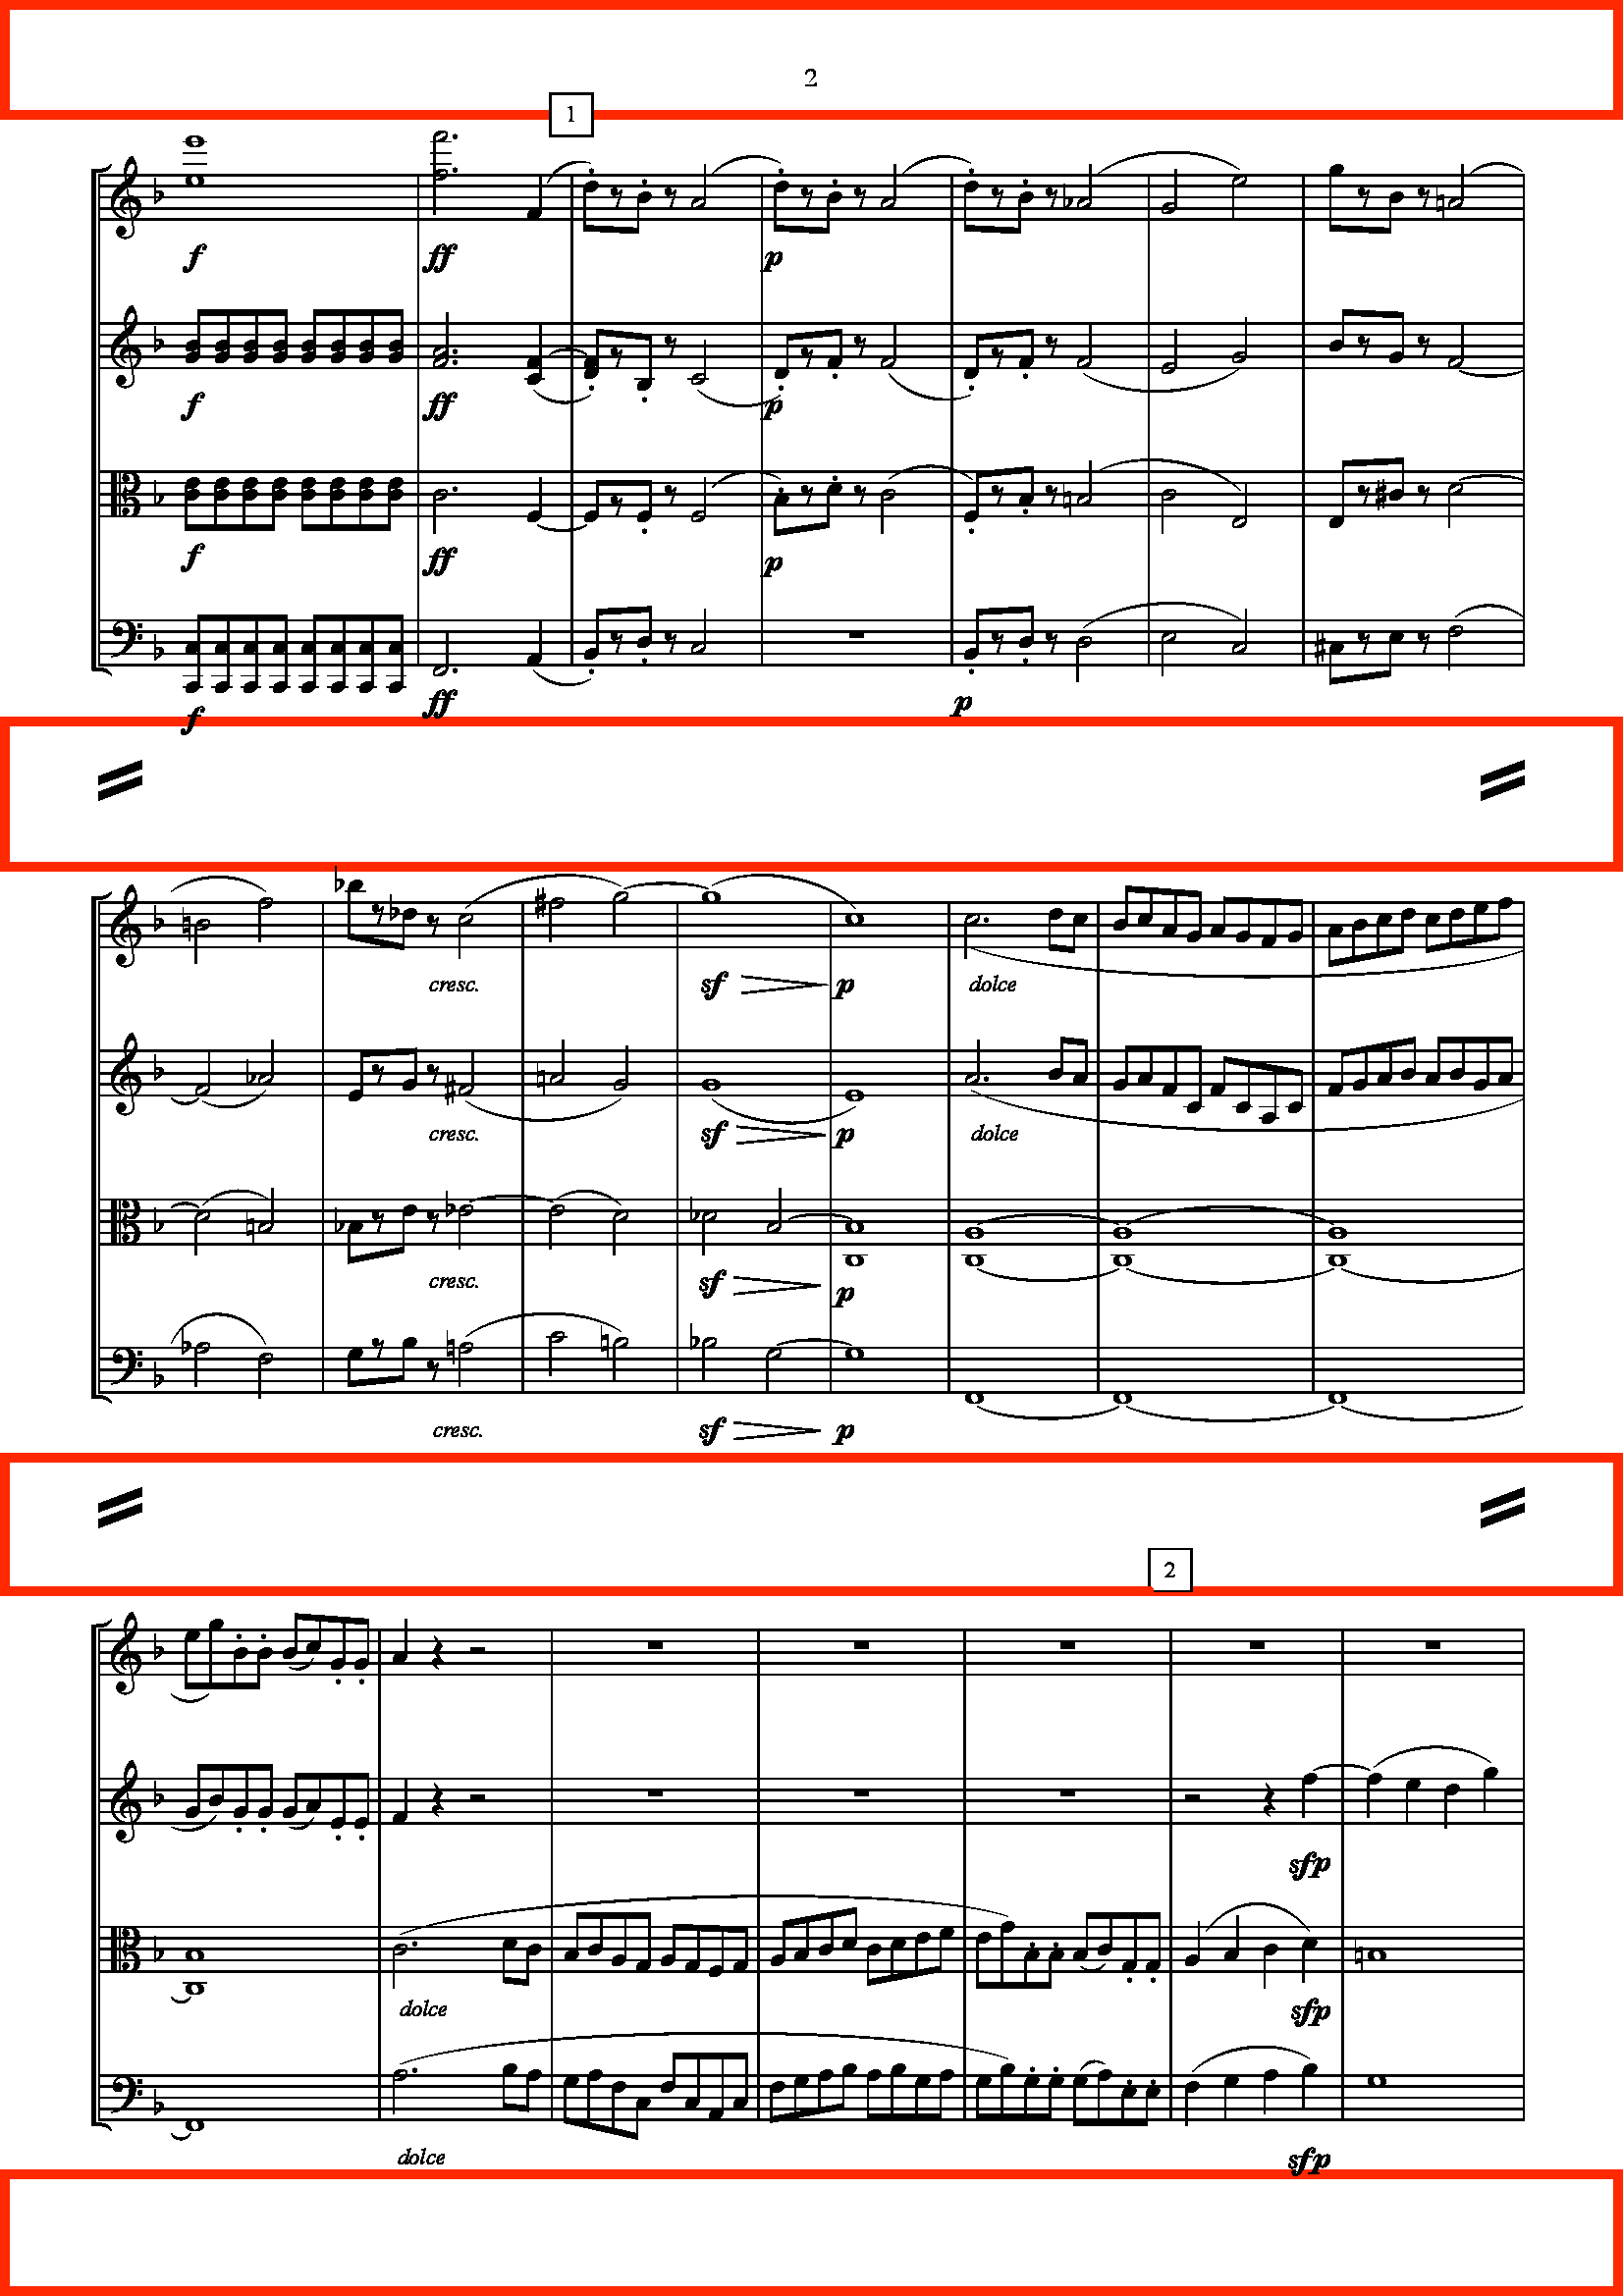
Do you see all the white space? That’s a total of more than 500 pixels! It’s wasting precious real estate in a video, so next I will go into cleaning up the pages.
Splitting lines
When looking through the documentation for ImageMagick, I couldn’t find any “easy” way of deleting a section from an image. Then I remembered seeing the docs for cropping, and I realized that my goal was fairly simple. I just had to cut the original image up into regions with little whitespace, and then merge them back together. Note: Since the very first page of the PDF is a title page, I will be referring to the first page with music. All pages (including the first page with music) have three lines each, and each of the three lines on all following pages starts in the exact same place. We can use this convenience to “cut out” lines for each page automatically.
The syntax for cropping with the convert utility is as follows:
convert <input file> -crop <width>x<height>+<x>+<y> <outfile>
The coordinates start from the top-left of the image.
The next step is to find the rectangles for each line; we will do the first page at the end because it is irregular. The widths for all rectangles will be the same, the entirety of the image, since we are only cutting out space vertically (even if we cut out space on the left and right, that won’t help in reducing the pillarbox). The goal is to make the fit as tight as possible, while making sure all of the notes (and preferably dynamics, too) are within the bounds.
This whole trial-and-error process could be greatly sped up due to its repetitive nature, so I used some quick Bash scripting to take care of that:
# For loop to automate experimenting with image crops
start=<start y>
end=<end y>
echo "First rectangle..."
for i in {002..024}
do
        convert beethoven_quartet7-$i.png -crop 1653x$((end-start))+0+$start beethoven_quartet7_crop-$i\_1.png
done
Just modify start and end, and re-run the script to see the output of all images.
My final numbers for start and end were 92 and 754, respectively.
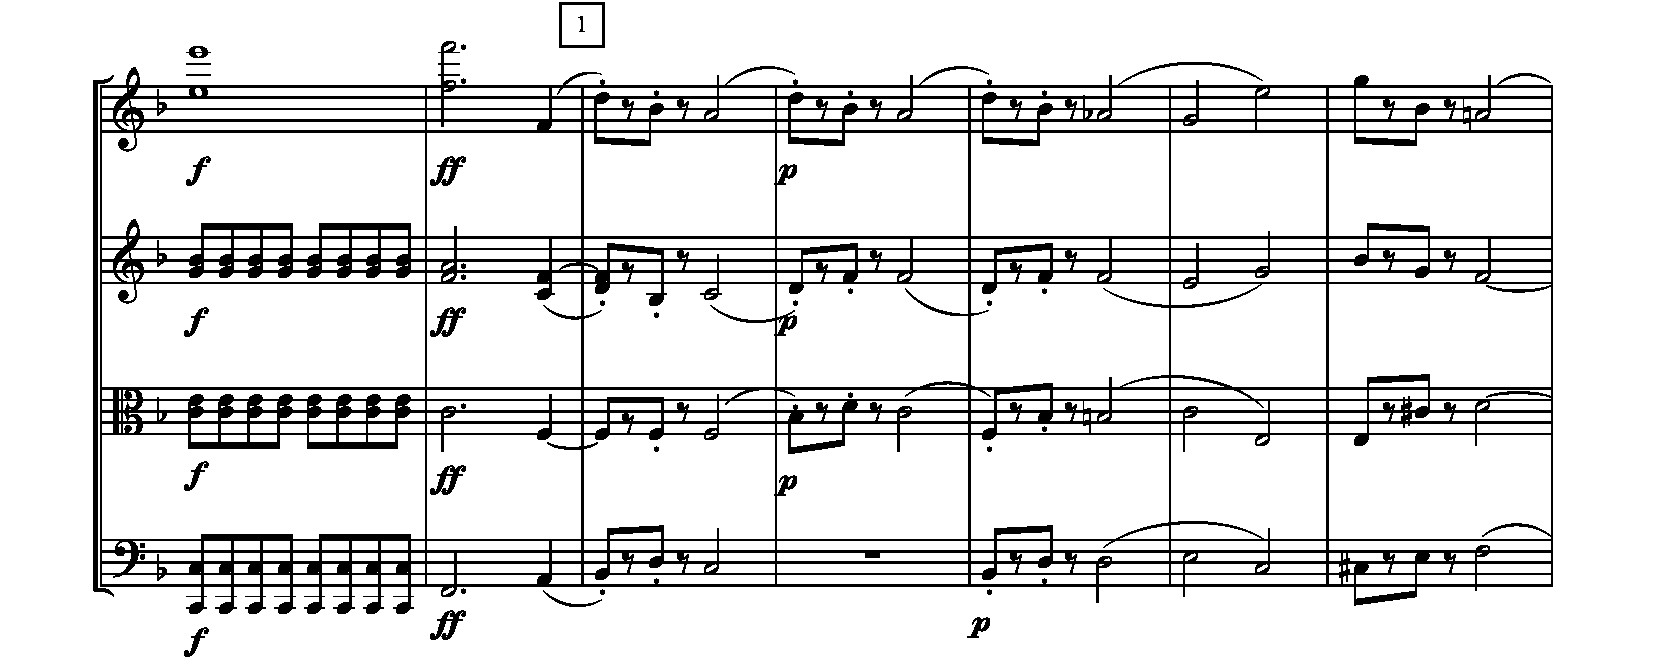
I did the same for the second and third lines (of course, changing the line number in the suffix), and for the first page, I removed the for loop and set i=001.
The rest was mostly the same. The full script is below:
#!/bin/bash -eu

basein="beethoven_quartet7-"
baseout="cropped/beethoven_quartet7_crop-"

# do the first page separately, since the title messes some things up
i=001
start=0
end=889
convert $basein$i.png -crop 1653x$((end-start))+0+$start $baseout$i\_1.png

start=937
end=1540
convert $basein$i.png -crop 1653x$((end-start))+0+$start $baseout$i\_2.png

start=1593
end=2211
convert $basein$i.png -crop 1653x$((end-start))+0+$start $baseout$i\_3.png

# crop to first rectangle in all but first image
#start=50
start=92
end=754
echo "First rectangle..."
for i in {002..024}
do
    convert $basein$i.png -crop 1653x$((end-start))+0+$start $baseout$i\_1.png
done

# crop to second rectangle in all but first image
start=833
end=1482
echo "Second rectangle..."
for i in {002..024}
do
    convert $basein$i.png -crop 1653x$((end-start))+0+$start $baseout$i\_2.png
done

# crop to third rectangle in all but first image
start=1562
#end=2248
end=2228
echo "Third rectangle..."
for i in {002..024}
do
    convert $basein$i.png -crop 1653x$((end-start))+0+$start $baseout$i\_3.png
done
The only change here is that I added two variables, basein and baseout, which allowed me to save the crops into a different folder (in this case, “cropped”).
The numbers you see commented out are from before I cropped out the page number and some extra space at the bottom.
Splicing lines
The last step of all of this is to merge the images of each line together into “pages” – well, macroimages.
ImageMagick conveniently has a tool to exactly this.
All we need to do is specify the direction and order in which to merge them, and both are very straightforward.
The direction is specified as vertical (since we’re stacking the three lines on top of each other) with the -append flag, and the order will be taken care of by wildcards/globs (1 comes before 2, etc.).
Since the goal was to just remove the excessive whitespace on each page, all we have to do is merge *_1.png, *_2.png, and *_3.png (each corresponds to a line) into a single page.
Using a for loop to go through all files yields the script:
#!/bin/bash -eu

basein="cropped/beethoven_quartet7_crop-"
baseout="cropped/beethoven_quartet7_combined-"

for i in {001..024}
do
    convert $basein$i\_* -append $baseout$i.png
done

echo "Done merging files"
Here is the second page with whitespace removed:
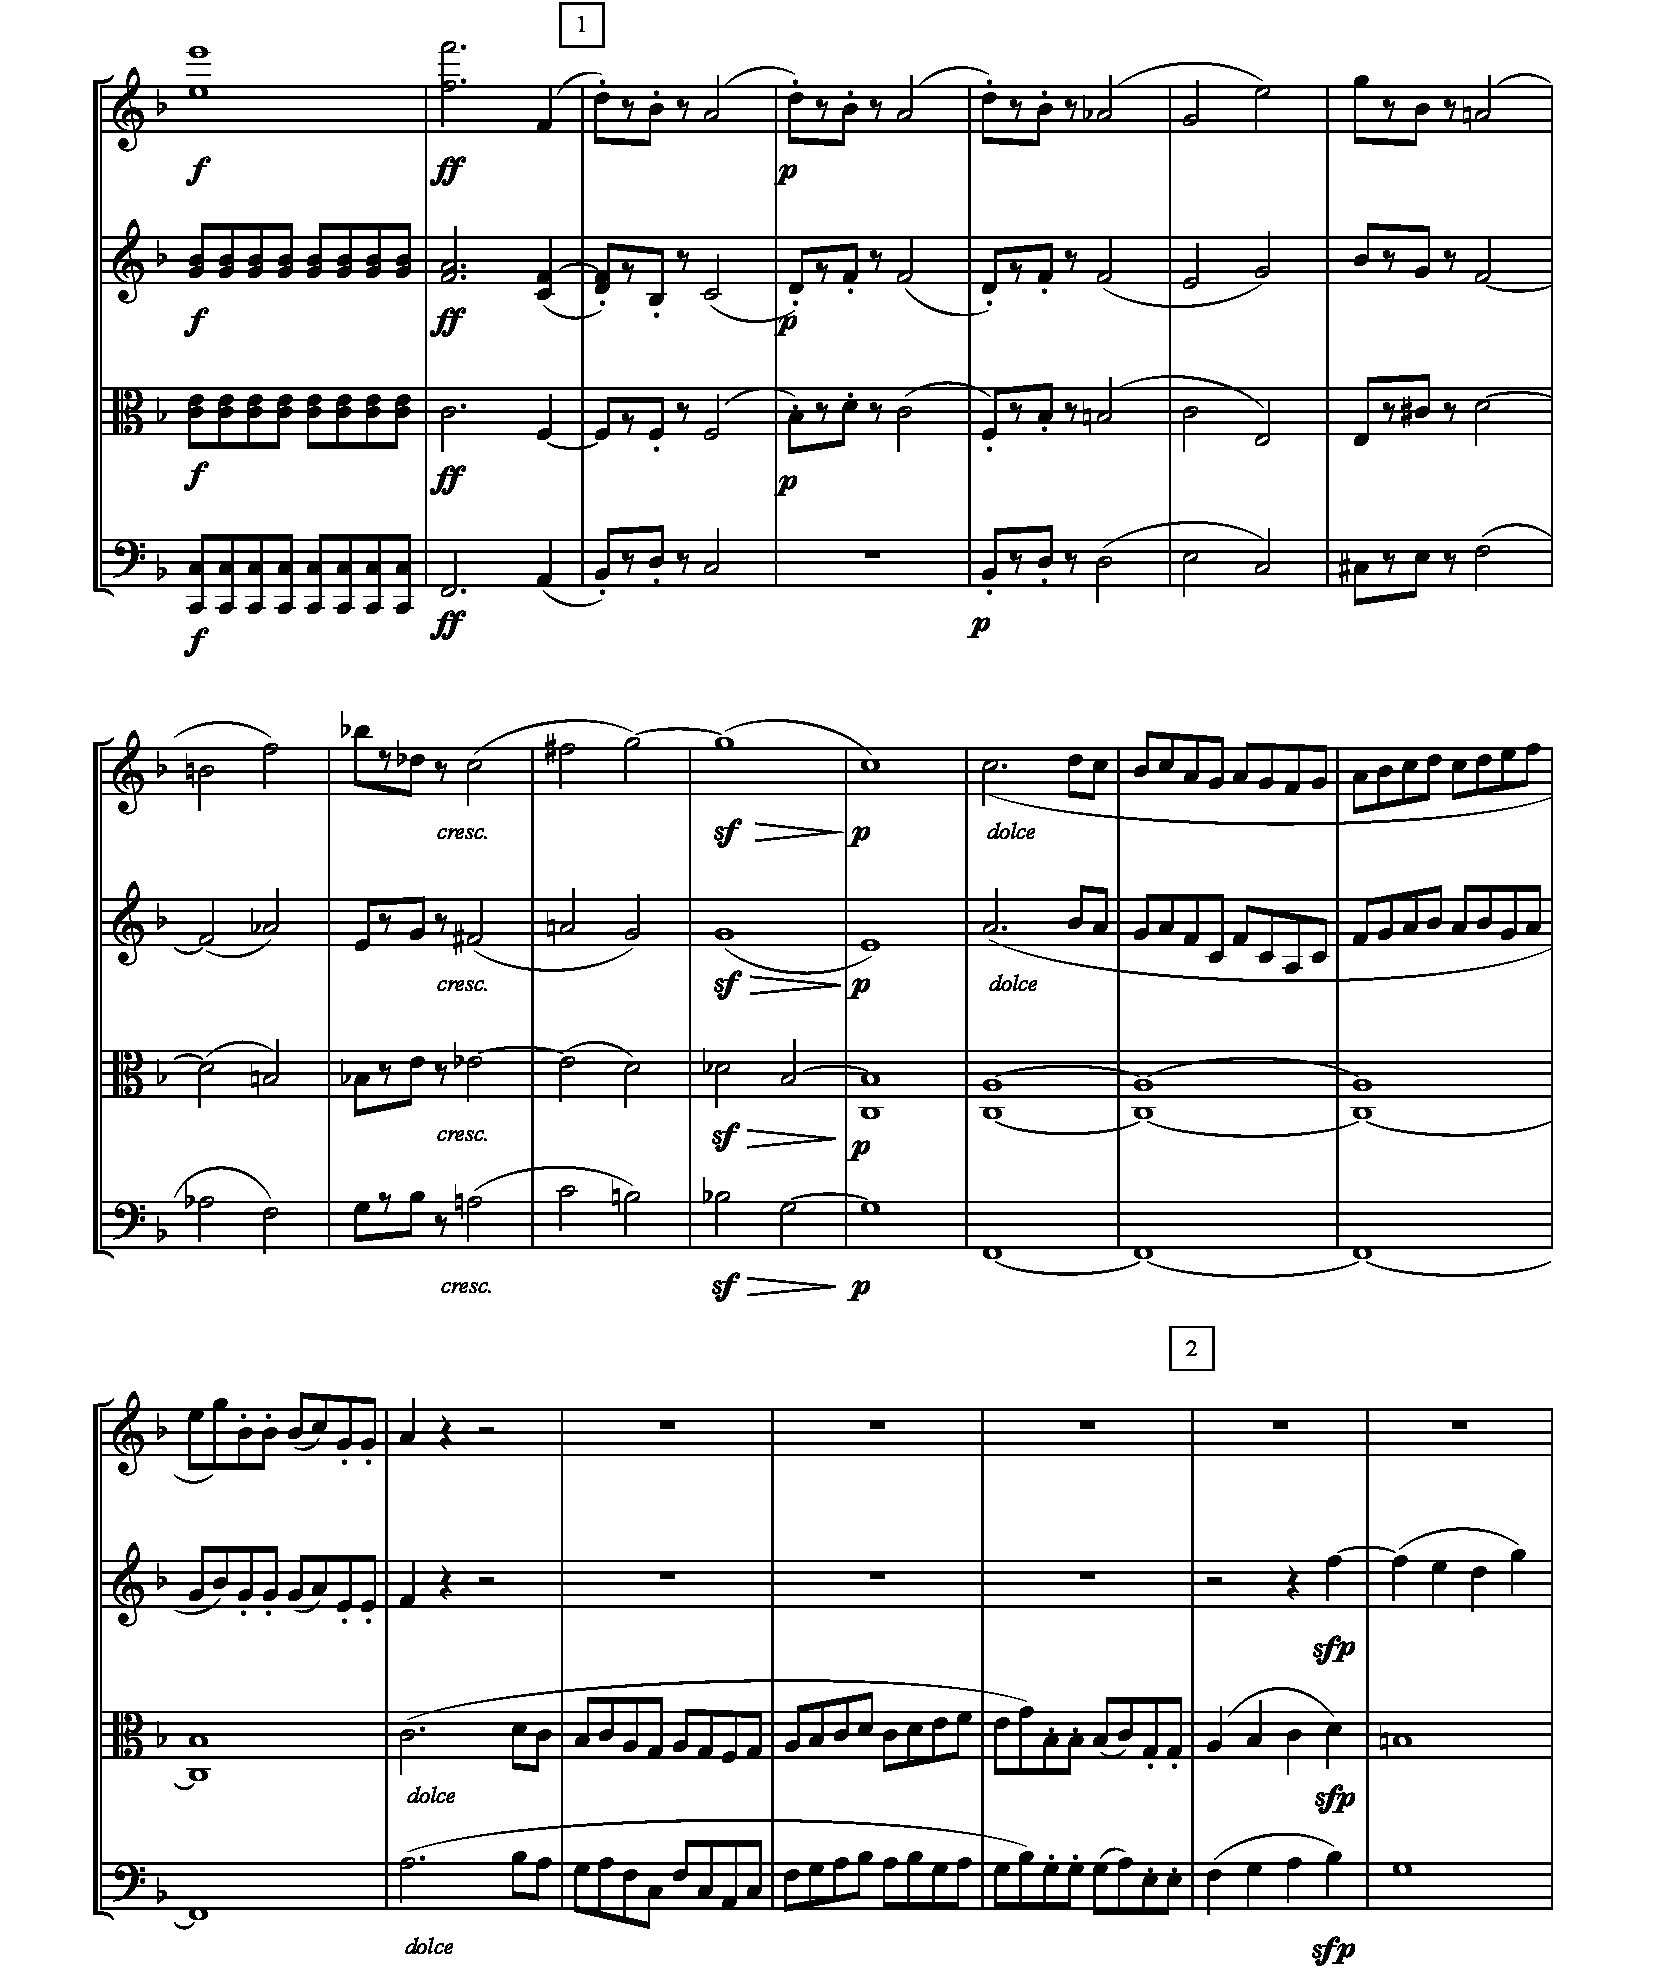
This is where we start to have fun with the images. Right now the approximate aspect ratio for the combined, no-whitespace image is 5:6, whereas YouTube suggests using a video with a 16:9 aspect ratio – especially if we want the score to be easily readable. We don’t even come close, and our result isn’t really much better than what we had originally (something close to 7:10).
To fix this, we just reduce the content on a single page. Yes, only put two lines on a page instead of three. Normally, this would be a nightmare to do if avoiding significant manual labor, but the lines being in the same place make this possible. We already cut out the lines on each page, so all that is remaining is to modify the splicer to pair lines together for each page.
The only problem is to replace the use of the wildcard in the convert command, and we must add some mechanism earlier in the script to keep track of the current file.
I solved this by finding and sorting all line images, and then iterating through the list in pairs.
#!/bin/bash -eu

lines=2 # lines per page; note that the first line will always have its own page
basein="cropped/beethoven_quartet7_crop-"
baseout="cropped/beethoven_quartet7_combined-"

allfiles=($(find . -type f -print|sort|egrep $basein[0-9_]+.png)) # why doesn't bash use normal e-regex syntax...
#echo ${allfiles[@]}

# do the first file (trivial, but for consistency)
convert ${allfiles[0]} -append $baseout$(printf "%.3d" 0).png

for ((i=1; i < ${#allfiles[@]}; i+=$lines))
do
    imgfiles=() # list of images to combine
    for ((j=0; j < lines; j++))
    do
        if [ $((i+j)) -lt ${#allfiles[@]} ]
            then
                    imgfiles+=("${allfiles[$((i+j))]}")
            fi
    done
    echo ${imgfiles[@]}
    pagenumber=$(printf "%.3d" $((i/lines+1)))
    convert ${imgfiles[@]} -append $baseout$pagenumber.png
done

echo "Done merging files"
This approach is also robust enough to be modified to put any number of lines on a single page. The downside to changing the number of lines on each page from three is that the pages are not the same size, but this can be fixed (albeit not easily) by adjusting the crops for the lines to produce images of the exact same size. When I used it in my video, these differences were negligible and had little effect on me, as a viewer.
Also, the first line, along with the title of the piece, is always on a separate page, and I did this because it is essentially the equivalent of two lines. If it were used for more than three lines, it would probably be best for the script to treat it as such.
Result
After making all the efforts of putting the commands in scripts, all I had to do to crop and reassemble the pages was to run transforms.sh and combine-pages.sh, and I was done.
I finally synchronized the score to a performance, and the video is below.
Thanks for reading!
